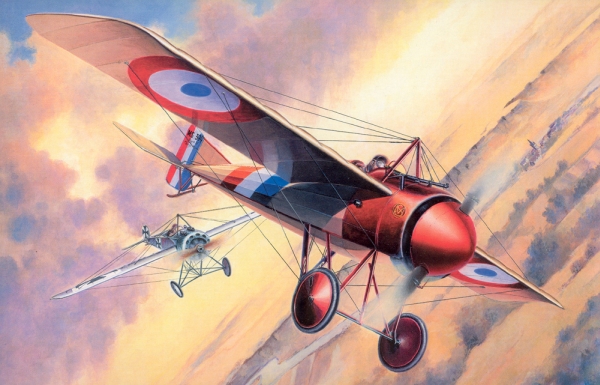
The Morane-Saulnier N, also known as the Morane-Saulnier Type N, was a French monoplane fighter aircraft of the First World War.
Designed and manufactured by Morane-Saulnier, the aircraft was presented for the first time by the pilot Roland Garros in Austria in 1914, entered service in April 1915 with the Aéronautique Militaire and was in service until the summer of 1916. It also equipped four squadrons of the Royal Flying Corps, in which it was designated the Bullet and was operated in limited numbers by the 19th Squadron of the Imperial Russian Air Force.
It was not easy to fly due to its stiff controls (using wing warping instead of ailerons) and high landing speed. Aircraft mounted a single unsynchronized forward-firing machine gun (either a 8 mm Hotchkiss or .303-in Vickers) which used the deflector wedges, in order to fire through the propeller arc. A large metal spinner designed to streamline the aircraft caused the engines to overheat because the spinner deflected air away from the engine. In 1915, the spinner was removed from the design and no more overheating problems were found. The removal of the spinner caused very little loss in performance.
The type N was built with a rather modern shape with a round cross-section and a tension pole over the fuselage in front of the open pilot's seat as well as another tension pole behind the first one under the fuselage. The whole fuselage was fabric covered. The wing assembly was constructed with a braced midwing configuration and comprised straight leading and trailing edges. The ends were chamfered forward and were fabric covered, too. The tail assembly was cantilevered and had a normal configuration with a parted elevator and a downward protruding rudder. The landing gear was formed with a continuous axle and couldn't be retracted. The aircraft had a tail skid.
The type N was not particularly successful (probably only 49 most aircraft were built) and it was quickly replaced by following designs.
More about Morane N on wikipedia
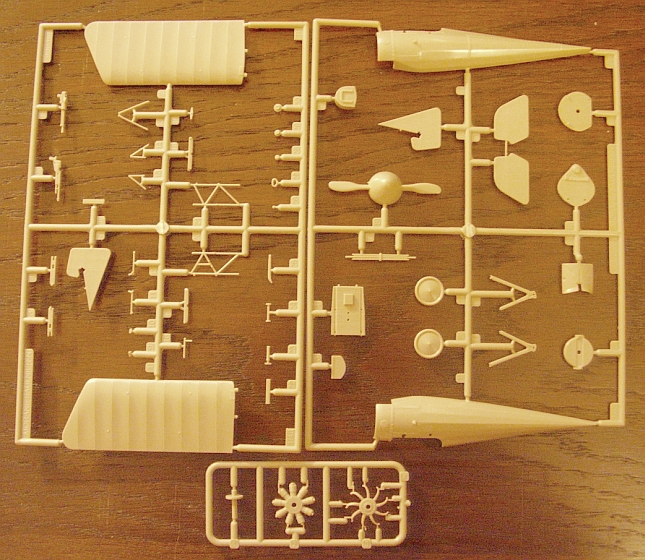
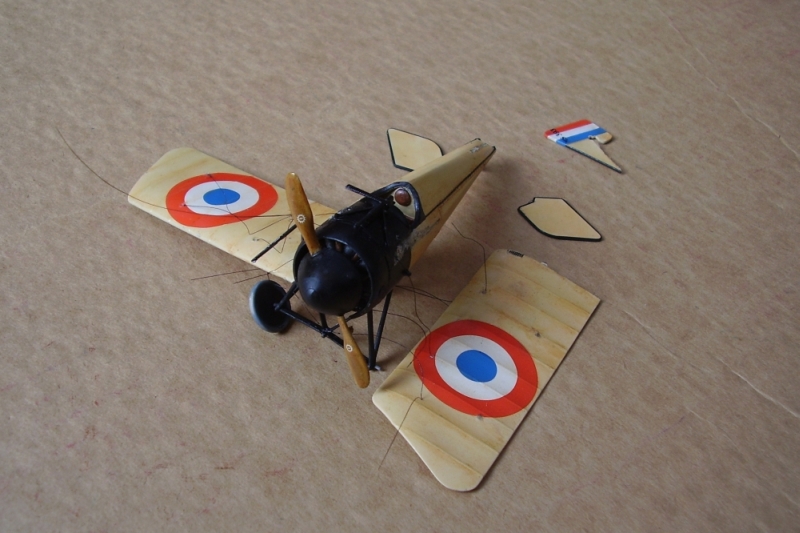
The Eduard's model (actually the new tooling, as the first attempt is dated back to 1995) comes in a box with nice image of the aircraft with the red nose, inside you find the parts made of light brown plastic, sheets of assembly instructions and colour views of two there are decals for 2 colour schemes. The quality is, I would say, very good. The instruction are in Czech and English, with pretty clear diagrams.
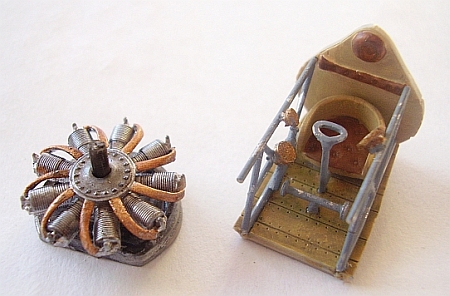
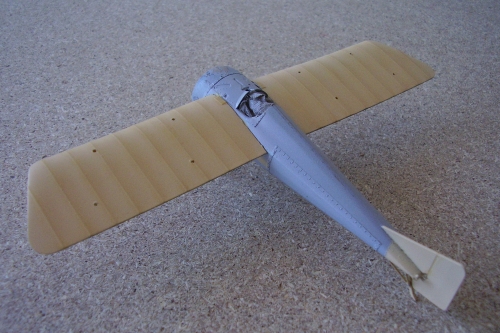
I did follow the instructions so I started with the cokpit details. This is a bit tricky, as the gauges are not on the panel, but on the fuselage tubing lead you where to put the seats and other internal parts. As most of the kits I make are out of box constructions and this was supposed to be one weekend fun, I did not look for additional details. I only added the seat belts made of paper and painted with light grey paint.
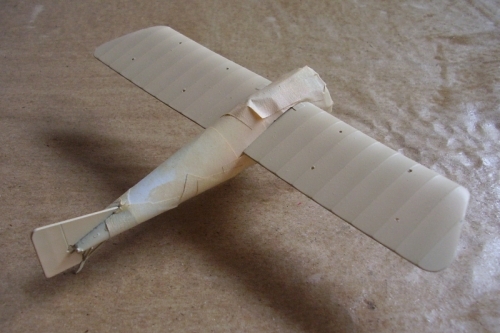
I Continue with the fuselage, tail and wings as instruction was saying leaving engine and undercarriage to the end. I did a mistake gluing the elevator, as this part is very fine, I broke it of few times, finaly during the painting the wings. So I left this till the very end of the building, and it comes out a bit clumsy. Before glueing the wings to fuselage I drilled the holes for wiring and attached the wings to the fuselage.
Then I glued the parts of undecarriage together, drilled the pin holes in the fuselage and after some trying, glued the construction without wheels in the place, it takes some work to level the model, but finally I managed to do it correctly. The skid went nicely, till I realized, that it colides with rudder, It took another corrections (actually the diagram is not very clear about this, I think, and again, trying it first pays of well).
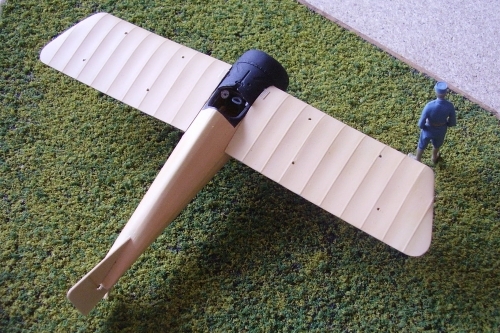
At this moment I sprayed the whole piece with Surfacer 1000, to find the errors, but there were few I was bothered about. And after some sanding and polishing, I sprayed the model with the linen colour I made myself mixing white, yellow red and brown enamels. I masked the fuselage first, airbrushed the basic light linen colour (I did that actually three times, sanding and polishing each layer), then I added darker sand colour to lighten up wing ribs. I continued with masking the wing and spraying the fuselage (while this was drying I painted the elevator fins separeted) in the same manner as I did with the wings.
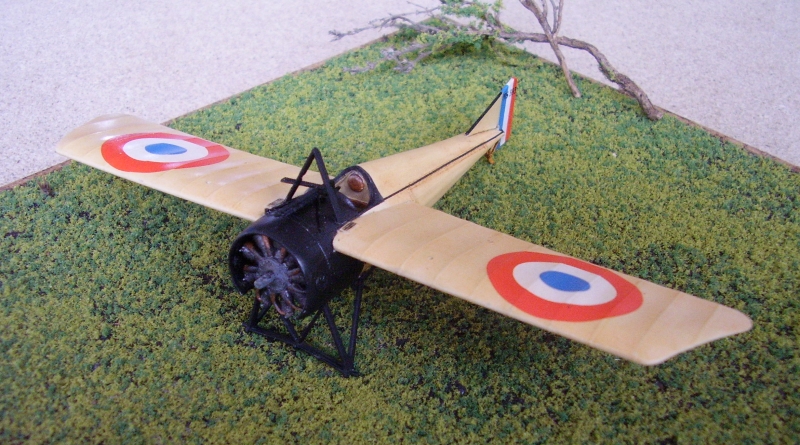
Next step was to glue the details, like struts, gun and wheels, all these were assembled and painted before glueing them to the places.
The kit offers two camouflages of French airforce, the main diference is the colour of the front part of fuselage, one is red the other black, as the black one looked to me more elegant, I decided for that.
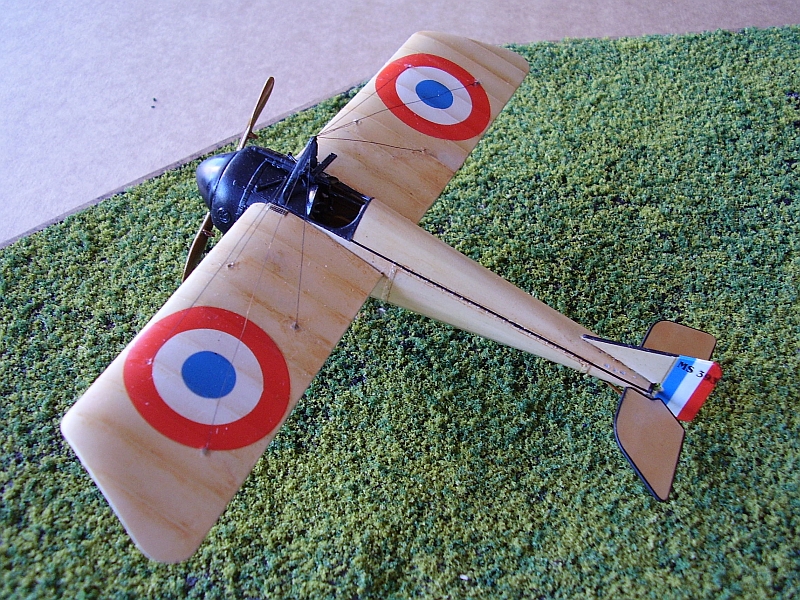
As I described painting the model in construction part here I will describe only few things. I sprayed the whole model with glossy varnish and then I aplied the decals (I used even the black lines for the edges of the wing and elevators, but left the silver "chips"). When all was in the place, I glued the elevators, sprayed again the whole model this time with matt varnish and let it dry for few days. Last thing I did was to add little bit of dirt on the wheels and around skid.
There is a separate diagram in the instruction sheet to help with the rigging, so there was little trouble to do it, appart of to straightened the copper wire from telephone cabel I used, that looked good enough for the scale and provides additional support for the wings of this delicate model. I painted it black.
Last thing to make was the rigging. There is a separate diagram in the instruction sheet to help, so there was little trouble to do it, I used the copper wire from telephone cabel that looked good enough for the scale and provides additional support for the wings of this delicate model. I painted it black. Done. :)
Nice, neat kit, with only one nasty trick (if you remember the kit is very fragile and the best is to leave the elevator and rudder till the very end of the assembly). For the kit exists the PE that offers some possibilities for personal improvements if you wish to do such (I did not use that, as I decided to make my models out of box mainly).
I decided to change the rigging and use the fishing rod instead of copper wire (dificult to maintain streched). When I was carrying the model, it fell from my hand and you can see the result of the meter and half fall... So instead of little rebuild I had to repair the whole model. This time I used the super glue.
I tried to be carefull but couldn't avoied the damage to the camouflage. I had t repair it in the wings, which was painful work, and arts of the front, black, fuselage. When done with it, I spreyed the model with gloss and then matt varnish.
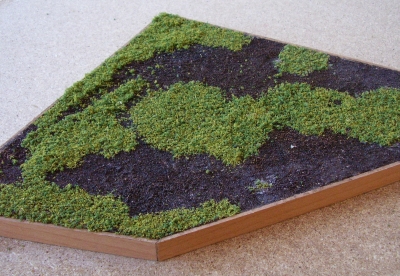
This was first attemt to make such a thing, as I thought it would make nice background to the Morane. I used some spare plywood, cardboard, paper and made the base, that looked quite ugly. Well, then I used the dirt out of my flower pots, glued this on the base. It took almost as much time as the aircraft model :). The base got a bit better look, so I continued and used a mix of the arteficial "grass" and some small plant branches I picked in Spain and made some sort of trees.
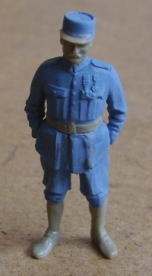
To populate the base a bit more, I used figures from the Eduard's Aeronatique militaire Francaise 1916 set and resin oil barrels and wine bottles from Calibre 48. To have something to put the bottles on, I made a table from the wooden stick I had flattened, glued and painted with water colours.
June 2009