The kit exists in two box versions, One contains the Bulgarian markings, the other contains decals for luftwafe and alternative Czechoslovakia AF (this aircraft never flew in such colours). Both contain the sprues of light brown plastic, which is quite soft, so you need to be carefull with the tiny parts.
With one bigger project in my mind, I bought two of these and built them in parallel.
I started with the cockpit, that has basically two sub-assemblies, the details on the side made of PE including the main instrument panel and the floor with seat, straps, stick, pedals and bottom instrument panel. There are few issues there. First I find out that the seat is very small and if you glue it directly on the floor, as suggested in manual, it would be so drowned, so I made the rest for it from the piece of spare plastic bit. Another think is, that there is no support for the main panel, so again, I glued just behind it another bit of plastic to hold the panel in position. The rest, for the size of the parts goes quite well, you can even choose, if you use the plastic pedals, or make them of 3 PE parts. I made one plastic and one PE, it doesn't matter much, because you cannot really see into the cockpit. If you are bothered, just behind the seat should be a storage case, that closes the rear part of the cockpit. I made it in one of the aircraft only with a sheet of plastic. I did all cockpit painting during the assembly steps.
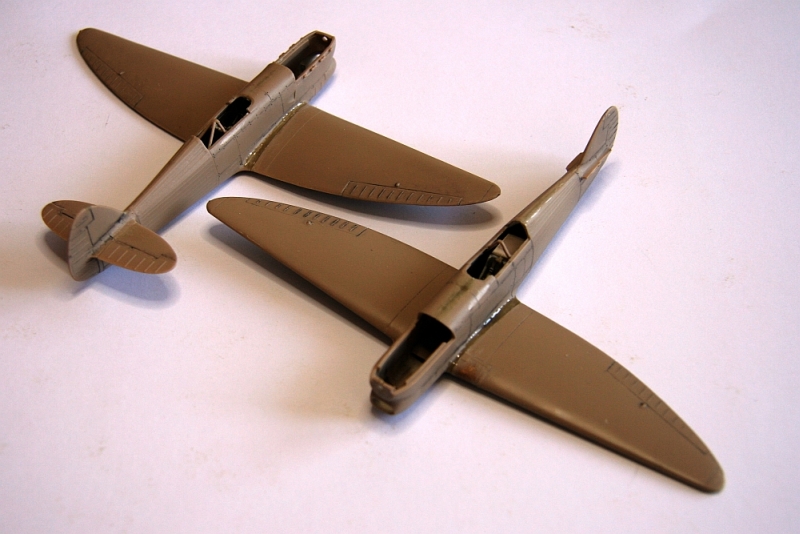
When I finished the side details I glued both sides of the fuselage together and then floor from the bottom side. This requires some testing and I had to sand off the sides of the cockpit floor a bit to get good fit. Next the front cooler went under construction, there is a PE part that goes inside and because there is nothing more, I had to close the cooler not to see through it to the cockpit. Then I glue the machine gun cover together with the exhaust pipes. These come in two versions and need a bit of sanding to fit them.
While the fuselage was drying I assembled the wings, painted the wheel wells (there are no attachment points in the wheel wells so you need to make the little holes to fit in the leg, or just rely on Super glue) and cleaned the horizontal stabilizers. I opened little bit the flaps on one aircraft only, as I doubt that these were left opened on the stationed aircraft. After drying time I glued the wing and stabilizers to fuselage.
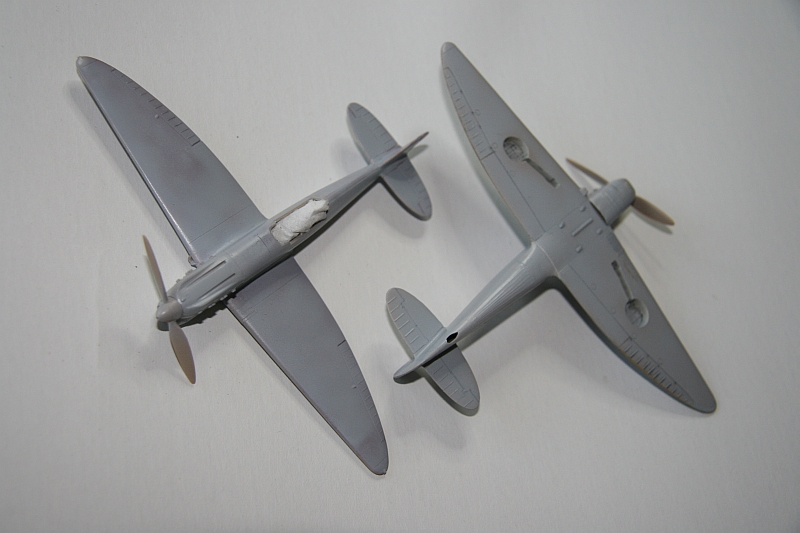
Now the Surfacer 1000 was sprayed over the part and while drying, I assembled and painted the main undercarriage . Then the model was painted.
Last came the screw and canopy (I left them closed on both models), antenna and undercarriage. The tail wheel is glued just to the sides of the fuselage. And that was it.
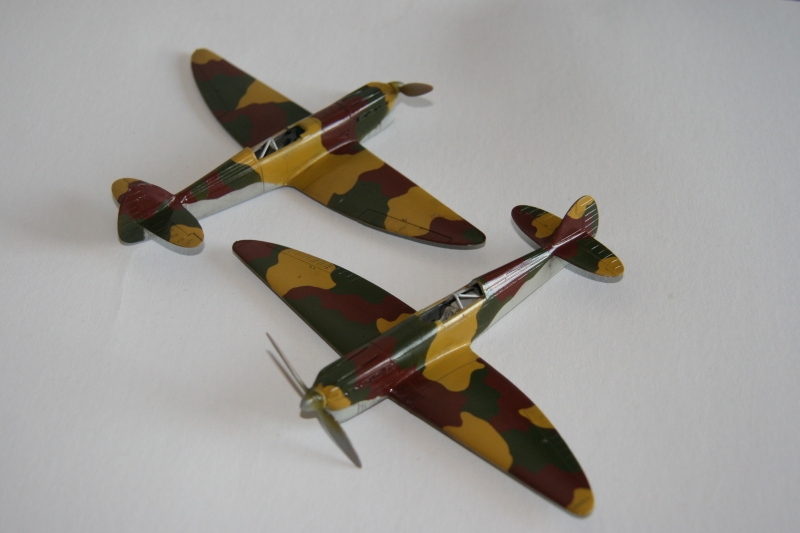
When I first saw the "alternative" marking on RS models (on Aero A-300 is another one), I wondered what the hack the idea was, but later I became to be fond of it and as I was not interested in neither Luftwaffe nor BAF, I made both the aircrafts alternative (I did the same with resin Avia B.135 in 1/48 scale actually). Making two models, I decided to make two different alternate schemas. The CzAF had the standard of khaki top and silver bottom surfaces but by the time of the development of B.135 the colourful 4-tone ochre/green/brown/light gray camouflage appeared (on B.71 was used gray/green/ brown/light gray or green/dark green/brown/light gray so the possibilities were wide open). I went for the with ochre as the aircraft looks attractive to me, with the idea to make "older" and "newer" aircraft.
As I already mentioned, first came primer of Surfacer, then I sprayed the metal parts with silver Revell 90 enamel as well as I used for the wood and fabric parts sand Humbrol 125 enamel as a primers. After leaving it for two days (especially Silver Revell needs time), I continued with camouflage. First came Gunze Middle Stone H71 with touch of yellow H4, then Khaki H80 and last Red brown H47. The undersides were sprayed with Light gray H51. Then I sprayed all the model with the Agama gloss varnish over the camo before applying the decals.
The canopy was painted separately, inside frames using H51 gray and outside frames with H80 Khaki. The undercarriage and tail wheel were painted on the spruces.
After applying decals, I fixed them with another gloss varnish and then applied the dark brown wash to get rid of the shine of the colours, for the warned off painting I used the same enamel tones as for the primers. In the end I sprayed the model with matt Gunze varnish thinned with Mr Colour Thinner.
I would say the kit is good short run, there are some issues around the little parts. Generally it fits good and with some effort you get nice tiny model of an aircraft that looks nice aside even the Spitfire and more to that I doubt that any other producer would spend time and money on this type in the future.
June 2009